So I happened to come across a broken HTC Incredible 2. My sister had replaced it with an iPhone when the Incredible stopped charging. She had taken it back to the Verizon shop where they tried replacing the battery but it still wouldn’t charge. It seems like such a waste to throw away such a fine piece of hardware which clearly works but can’t recharge the battery.
Long story short, a lot of people have had a similar problem and had success by simply replacing the USB chargin port of the phone. As it turns out the repair is not even that difficult. The phones design is incredibly modular, with everything connected to the mainboard by ribbon cables. In this post I document the process of disassembling the HTC Incredible 2 and replacing the USB charging port.
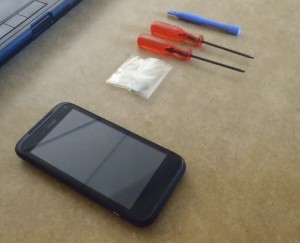
The part I ordered was For HTC Incredible S II 2 Charging Charger Port USB Dock Connector Part Repair. The cost was $9 shipped and it came with a screwdrive and plastic pry tool.
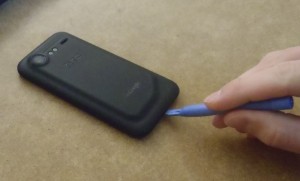
In addition to these tools, I also used a pair of tweezers, an exacto knife, and a very small phillips screw driver. Start by removing the outer cover. This can be done with the plastic pry tool or a coin, or a credit card with one corner shaved down a bit. There is a little tab at the bottom of the phone to get you started.
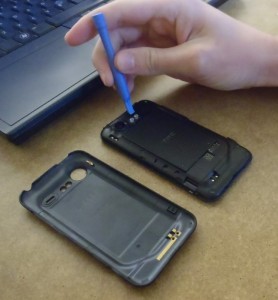
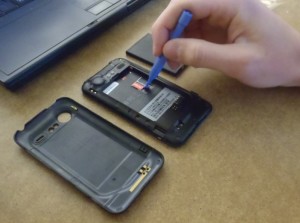
Then remove the battery and the simcard. These are pretty easy, just take them out.
Now there are seven (7) star screws to remove in order to get the inner housing cover off. One of them is covered with a green “void” sticker (removing this screw will void the warranty, which I assume is already voided). If you dont have a star screwdriver (though one came with my replacement part) a small flathead should work. you can look at the next picture to see where the screws are located.
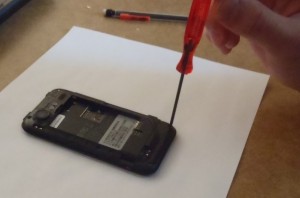
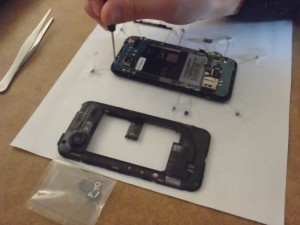
Use the star screwdriver (or a small flathead) to remove the seven (7) screws that are holding the interior plastic cover.
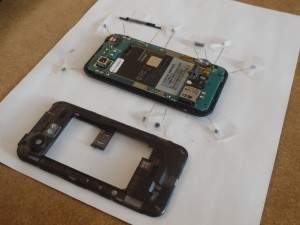
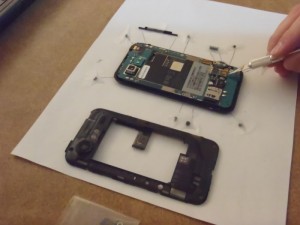
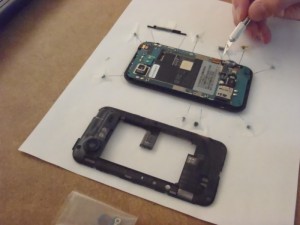
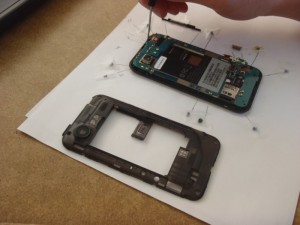
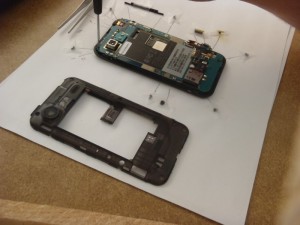
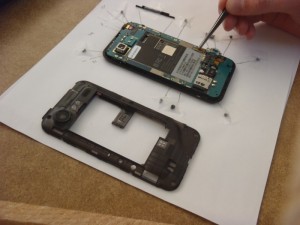
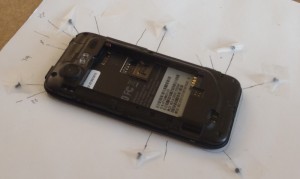
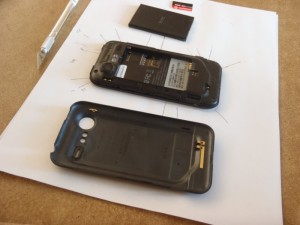
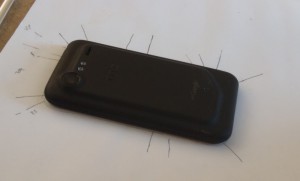
I used a piece of paper and take to diagram where all the parts came from as I took them off. This is a handy way to keep track of where stuff goes when you put it back together. Anyway, now that the screws are removed we may remove the inner back of the case.
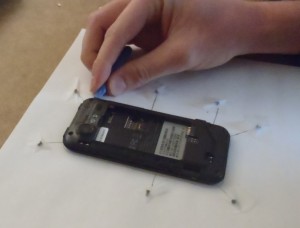
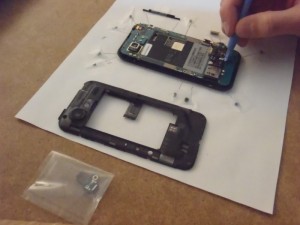
Now use the plastic pry tool (or a credit card with one of the corners shaved down a bit) to pry off the interior case.
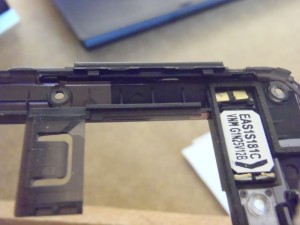
For me, the case took some work. Note that the volume rocker switch is a part of the piece we are removing so it is safe to pry under it, however the little piece of plastic over the headphone jack is not part of the piece we are removing, so don’t try to pry it out too. During this process, the USB protective housing and the little rubber cover to what looks like an antenna port came out. I just added them to my diagram so I knew how to put them back.
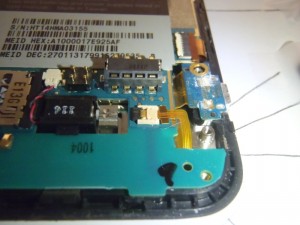
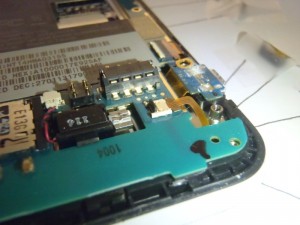
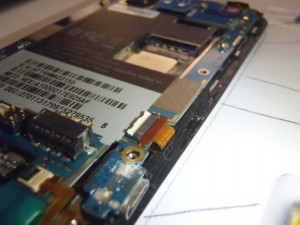
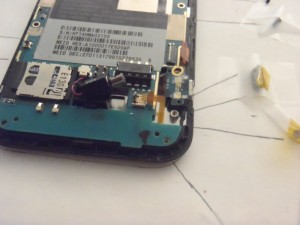
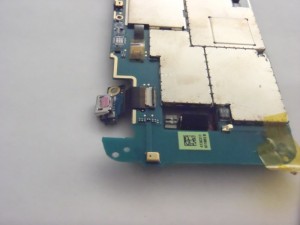
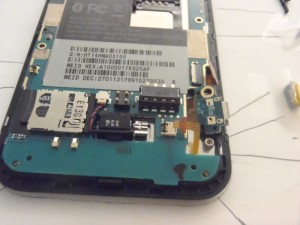
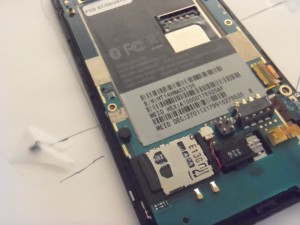
Now we can see the (presumable) culprit of the charging problem. The USB charging port has some corrosion on it. I’ve read that many people have had problems charging and that replacing this part will fix those problems. I’m making an $9 bet that this is my problem too.
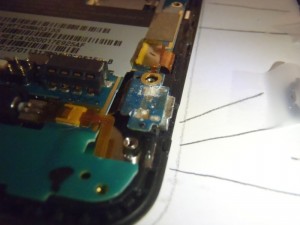
We can see that the USB port is rather corroded, so hopefully the charging port is in fact the reason the phone will not charge. This is the part we will replace.
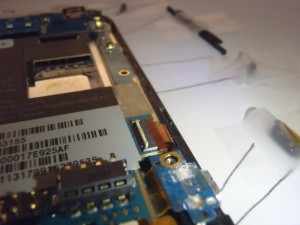
Now we have to disconnect two ribbon cables on the right side of the main board. They are covered with some ESD tape. I saved the tape and put it back on when I reassembled the phone. I’m not sure if they’re useful but I figured perhaps they’d relieve some stress on the attach points.
To remove the ribbon cables pop the tab on the back of the attach point. With the tab up, the ribbon cable should slide right out.
Now remove the two small philips screws. One is holding a piece of plastic over the headphone jack. The other is holding the main board onto the case.
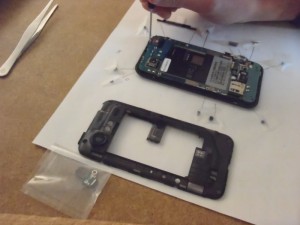
Again with the phillips, remove the screw that is holding in the little plastic piece over the headphone jack.
Next we need to pop out the vibrator motor. Once the motor is removed from it’s holder, you may leave it connected to the mainboard. It’s not held in with any tabs so just pull it on out with your pry tool.
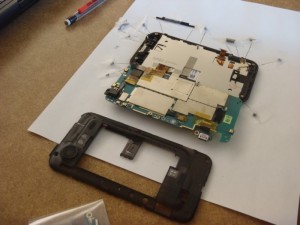
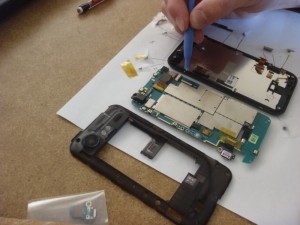
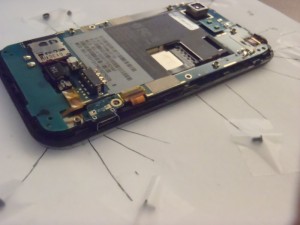
Now it’s time to separate the mainboard from the housing. The mainboard is still connected by a ribbon cable on the left side, so lift up from the right side. The board is held down by two attach points. It fits under the headphone jack at the top, and it is clipped in place at the vibrator motor housing. I used the pry tool to separate the board from the clip at the vibrator motor housing, and then pulled slightly downward to remove it from under the headphone jack.
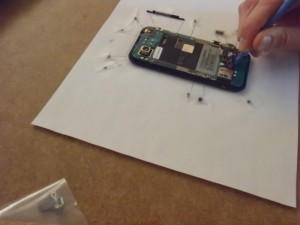
Pry the board from the housing. There are two main attach points: the vibrator motor housing and the headphone jack.
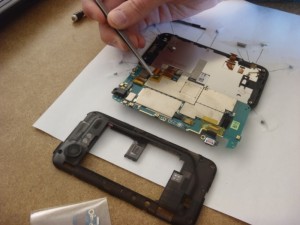
Now we can remove the ribbon cable that is attaching the board to the screen. In hindsight this is not really necessary since our part is already exposed, but I guess it make things a bit easier later. Start by removing the plastic tape covering the ribbon cable attach point. Then pop the lever, and slide out the ribbon cable.
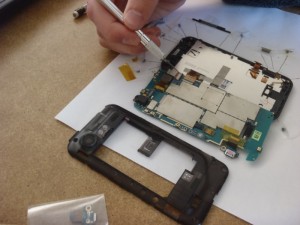
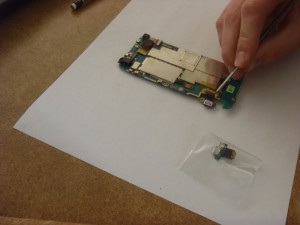
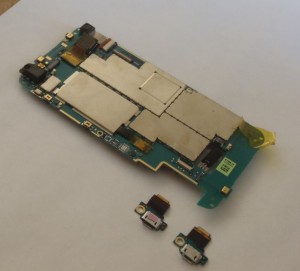
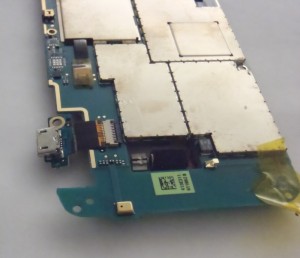
Now that the mainboard is separated from the housing we can remove the USB port. It’s just another ribbon cable so remove the tape, flip the tab, and slide out the part.
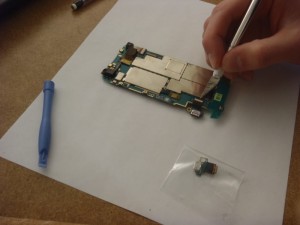
The we simply swap in the new part. Insert the ribbon cable, make sure it’s snug inside the attach point, then close the tab.
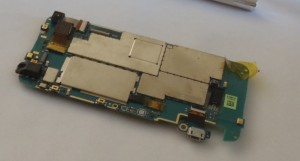
Insert the ribbon cable for the new port, make sure that the new port is facing the right direction.
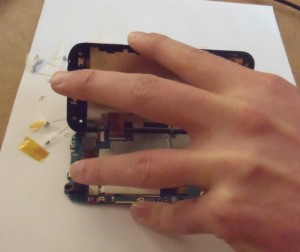
Now we reattach the mainboard to the housing by the big ribbon cable on the left (screen?). This was a bit tricky since the ribbon cable is kind of short. I had to pull a five finger maneuver to get the thing in a position where I could insert the cable without it sliding back out. Once the cable is in, close the tab.
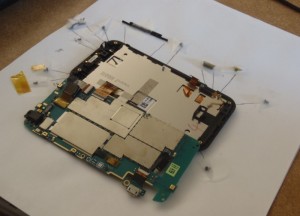
Now simply flip the mainboard back over so that it is lying on the housing. Check the camera to make sure it didn’t slide out. Mine had slid out and was sitting at a funny angle so I had to shift it back into place. Also make sure that the two small ribbon cables on the right side are pulled out and aren’t buried under the mainboard.
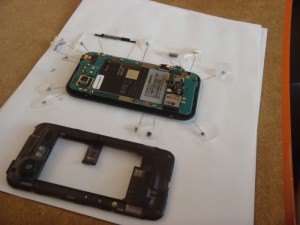
Fold the main board back onto the housing. Make sure to pull out the two small ribbon cables so that are not under the main board.
Now we can snap the mainboard back into place, and return the vibrator motor back to it’s home.
Now screw back in the two phillips screws. One holds the plastic cover over the headphone jack, and the other holds the mainboard onto the housing.
Now we reattach the small ribbon cables on the right side. Slide them into the attach point, close the lever, and then replace the tape (if you like).
Now we can snap the cover back on. Start by replacing the USB port cover. This fits into the housing by two tabs that are under the port. Replace the rubber cap on the left side if it fell off. Also return the volume rocker to it’s place inside the back of the housing (the part that you took off) if it fell out.
Then simply snap the back of the housing into place, and screw all the screws back in.
Now you can replace the battery, simcard, and outer cover.
Plug in the phone, and if nothing starts sparking/smoking perhaps you have indeed fixed your problem. Not that this is proof, but the phone now at least tells me it’s charging the battery. We’ll see if it ever gets to 100%.
#1 by Dennis Bays on January 11, 2013 - 5:15 am
Great explanation and walkthru! I just finished tonight doing the same thing, but I avoided disconnecting the last big ribbon cable. When I first reassembled it, it charged, but I had no display, even though I could hear it turn on. Disassembled again, and found one of the two small right side ribbon cables ever so slightly skewed. Disassembled and reconnected, reassembled, and everything is groovy. Wish I’d found your site before I did it.
Great job!
#2 by bob on April 6, 2013 - 11:54 pm
Hey man, thanks a lot, this really helped me. You rule!
Also I had the exact same experience Dennis had..black screen..freaking out for awhile. Kept disasemmbling and reassembling and finally whatever was wrong got fixed .. probably some tiny little ribbon was off a tad.
#3 by Fred on April 25, 2013 - 12:21 am
Excellent info, everything went exactly as described, I also had the black screen. Went back in readjusted the ribbon cable, good as new.
#4 by narayan jha on May 18, 2013 - 6:32 pm
from where i can purchase this charging jack . i m living in gurgaon. there is any particular address ?
#5 by cheshirekow on June 21, 2013 - 1:40 pm
I got the charging jack from amazon. There’s a link to the product in the post. I just checked and that link still works.
#6 by Beth on June 20, 2013 - 11:09 pm
Thanks very much!!!! Worked like a charm and saved me $55! Great photos and followed to a T worked!
#7 by Kalai on July 23, 2013 - 6:14 am
Thanks for the great share! The photos gave the extra description – got it fixed and this saved me around $80! – not sure why the repair guys need so much to fix this.
#8 by cheshirekow on July 23, 2013 - 3:52 pm
Glad to help! With repair guys I think what you’re really paying for is their time, which makes it low value for small repairs like this. But I’m happy that you have kept another perfectly good phone out of the landfill.
#9 by Krish on July 30, 2013 - 12:31 am
Thanks for the help, photos are greatly helpful
#10 by mark flello on August 9, 2013 - 8:53 pm
i was wandering on replacing a batter charge port if the little clasp has comme of the mother boards what should i do
#11 by mark flello on August 9, 2013 - 8:53 pm
#12 by demontae andrews on August 20, 2013 - 2:33 pm
thank you it was helpful
#13 by Don Dare on September 25, 2013 - 8:16 pm
Thank you!!! Bought the part for $3.99 from Eden’s Designs on eBay, and did the repair using the screw driver from an eyeglass repair kit, (and a magnifying glass).
#14 by Eric on October 19, 2013 - 12:51 am
Thank you! I figured it was my charging port when my phone was working fine but would not charge and the port seemed a little looser than normal. Took the phone apart and the charging port had completely corroded apart.
Bought new port from the link and it works perfectly.
Very simple fix from following directions.
#15 by marie rynne on November 26, 2013 - 5:31 am
ugh thx for the instructions but the charging port didnt fix the problem… it was clearly loose but could the battery just be comopletely dead or is it possible the port wasnt good???? grr i did everything correct but theres no yellow light when i plug it in still.. should i send back the port?? and where did you order yours i didnt get the tools..
sadly, marie
#16 by Ashley on January 15, 2014 - 6:20 am
Thank you so much! This really helped a lot. My dad called a phone store and asked about how much it would be to fix and they said $65, that’s crazy. So i searched how to fix it and found your directions. Again, Thank you so much!
#17 by Chuck on July 11, 2014 - 2:17 am
Worked great. At first I left the lower ribbon disconnected and the lights for the Android buttons didn’t light up. So I had to take it apart again and the second time was the charm. It charged up right away either way!
#18 by Anil on February 6, 2015 - 4:45 am
Thank you for explaining every thing so nicely.It worked beautifully.Took just 40 minutes to pack it again.Great feeling.